- Published on
ZAP을 사용하여 동적 검사 해보기
- Authors
- Name
- Jay


ZAP(Zed Attack Proxy)는 오픈소스 web application security scanner이다. ZAP을 통해서 Web application에 가상 공격을 통해서 취약점을 발견하는 DAST(Dynamic Application Security Testing)을 할 수 있다.
API SCAN
Container Image를 통해서 ZAP API scan 스크립트를 실행할 수 있다. 아래처럼 XSS처럼 API에서 확인할 필요가 없는 것들은 빼고 스캐닝을 진행한다.
It imports the definition that you specify and then runs an Active Scan against the URLs found. The Active Scan is tuned to APIs, so it doesn’t bother looking for things like XSSs.
간단하게 아래와 같이 Express App이 있다고 하자.
index.js
const path = require('path')
const express = require('express')
const bodyParser = require('body-parser')
const app = express()
const port = 3000

app.use(bodyParser.json())

app.get('/hello', (req, res) => {
  console.log(req.headers, req.originalUrl)
  res.send({ message: 'Hello World!' })
})

app.post('/hello', (req, res) => {
  console.log(req.headers, req.originalUrl, req.body)
  res.send({ message: 'Hello World!' })
})

app.use(function (req, res, next) {
  res.status(404).send({ error: 'Not Found' })
})

app.listen(port, () => {
  console.log(`Example app listening on port ${port}`)
})
그리고 해당 App에 대한 OpenAPI 규격으로 작성된 yaml 파일이 있다고 생각해보자. Docker Container를 사용하고자 host명을 host.docker.internal로 지정하였다.
api.yaml
openapi: '3.1.0'
info:
  version: 1.0.0
  title: example
servers:
  - url: http://host.docker.internal:3000
    description: sample

paths:
  /hello:
    get:
      summary: get hello
      responses:
        '200':
          description: response
          content:
            application/json:
              schema:
                type: string
                example: 'Hello World!'
    post:
      summary: post hello
      requestBody:
        content:
          application/json:
            schema:
              type: object
              properties:
                name:
                  type: string
                kind:
                  type: string
            examples:
      responses:
        '200':
          description: response
          content:
            application/json:
              schema:
                type: string
                example: 'Hello World!'
그러면 아래와 같이 Container Image를 사용해서 API Scan을 진행하고 html 형식의 Scan 결과를 저장할 수 있다.
docker run -it -v $(pwd):/zap/wrk/:rw -t zaproxy/zap-stable zap-api-scan.py \
-t api.yaml \
-f openapi \
-r result-api.html
Low Level의 경고 두 개가 출력되었다. Express를 사용하면서 기본으로 X-Powered-By Header가 추가 되는데, Application server의 정보가 누출 되기 때문에 해당 Header를 안 보내는 것을 제안한다. 그리고 MIME sniffing을 하지 않도록 서버에서 X-Content-Type-Options Header를 설정하는 것을 제안한다.

이제 아래와 같이 수정해서 다시 API Scan을 진행하면, 해당 경고 메세지가 사라지는 것을 확인할 수 있다.
index.js
const path = require('path')
const express = require('express')
const bodyParser = require('body-parser')
const app = express()
const port = 3000

app.disable('x-powered-by')
app.use(bodyParser.json())
app.use((req, res, next) => {
  res.setHeader('X-Content-Type-Options', 'nosniff')
  next()
})

app.get('/hello', (req, res) => {
  console.log(req.headers, req.originalUrl)
  res.send({ message: 'Hello World!' })
})

app.post('/hello', (req, res) => {
  console.log(req.headers, req.originalUrl, req.body)
  res.send({ message: 'Hello World!' })
})

app.use(function (req, res, next) {
  res.status(404).send({ error: 'Not Found' })
})

app.listen(port, () => {
  console.log(`Example app listening on port ${port}`)
})
Express App에 들어오는 요청을 Console log를 찍도록 하였는데, 실제로 아래와 같은 header값과 request body로 API 요청을 하는 것을 확인할 수 있다. 실제로 API에 여러가지 시나리오로 요청을 하면서 취약점이 있는지 확인을 한다.
headers
{
  host: 'host.docker.internal:3000',
  'user-agent': 'Mozilla/5.0 (Windows NT 10.0; Win64; x64; rv:125.0) Gecko/20100101 Firefox/125.0',
  pragma: 'no-cache',
  'cache-control': 'no-cache',
  accept: 'application/json',
  'content-type': 'application/json',
  'content-length': '85'
}
body
{
  name: 'ZAP',
  kind: 'any?\nSet-cookie: Tamper=cc4acb02-3503-45fc-87c3-a4b9af62e165'
}
그리고 인증을 Bearer Token을 Header에 담아서 한다고 하면, 아래와 같이 replacer라는 설정을 통해서 기존의 Header값을 수정하거나 추가할 수 있다.
options.prop
replacer.full_list(0).description=custom
replacer.full_list(0).enabled=true
replacer.full_list(0).matchtype=REQ_HEADER
replacer.full_list(0).matchstr=x-sample
replacer.full_list(0).regex=false
replacer.full_list(0).replacement=sampleHeaderValue
replacer.full_list(1).description=auth
replacer.full_list(1).enabled=true
replacer.full_list(1).matchtype=REQ_HEADER
replacer.full_list(1).matchstr=Authorization
replacer.full_list(1).regex=false
replacer.full_list(1).replacement=Bearer token
이제 -z을 통해서 zap 설정값을 추가해주면 API Scan을 통해서 HTTP 요청할 때 해당 Header값들이 추가되는 것을 확인할 수 있다.
docker run -it -v $(pwd):/zap/wrk/:rw -t zaproxy/zap-stable zap-api-scan.py \
-t api.yaml \
-f openapi \
-r result-api.html \
-z "-configfile /zap/wrk/options.prop"
SPA
SPA(Single Page Application)에서 Crawljax를 사용하는 Ajax Spider를 이용하면 client-side에서 rendering되는 페이지도 스캐닝 할 수 있다.
React Router를 통해서 Browser에서 History API로 페이지 이동하는 Example Code를 사용해본다.
git clone https://github.com/codezri/react-router-v6-example.git
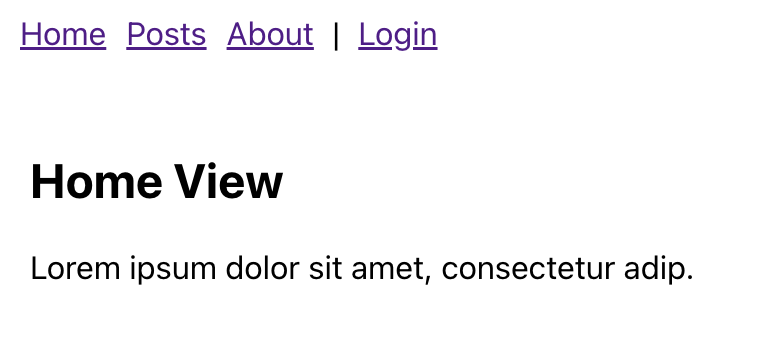
아래와 같이 Javascript을 통해서 화면이 그려지고, Nav 영역에 페이지 이동하는 a tag들이 있다.
API Scan과 마찬가지로 Full Scan도 Container Image를 통해서 스크립트를 실행할 수 있다. 그리고 Ajax Spider를 사용하기 위해서는 -j 옵션을 사용해야 한다.
docker run -it -v $(pwd):/zap/wrk/:rw -t ghcr.io/zaproxy/zaproxy:stable zap-full-scan.py \
-t http://host.docker.internal:3000 -P 8080 \
-j -c zap-casa-config.conf \
-r result-full.html
그런데 Spider가 찾아내는 URL 목록을 보고 싶었고, 그래서 구글링을 해보니 Zap User Group Community에 나처럼 동일한 작업을 하고 싶어서 질문한 내역이 있었다. 해당 대화에서 Spider가 찾은 URL 목록을 출력할 수 있는 스크립트를 공유했고, 그것을 사용했다.
list.js
function listChildren(node, level) {
  var j
  for (j = 0; j < node.getChildCount(); j++) {
    print(Array(level + 1).join('    ') + node.getChildAt(j).getNodeName())
    listChildren(node.getChildAt(j), level + 1)
  }
}

root = model.getSession().getSiteTree().getRoot()

listChildren(root, 0)
ZAP에서 Automation Framework를 제공한다. Container Image를 통해서 script를 실행할 수 있지만, Automation Framework를 사용하여 원하는 작업들을 yaml로 정의할 수 있다. ZAP에서 이 방법을 사용하는 것을 추천한다. spiderAjax add-on을 사용하게 하고, script를 통해서 Spider가 찾은 URL을 화면에 출력하도록 하였다.
zap.yaml
env:
  contexts:
    - name: test
      urls:
        - http://host.docker.internal:3000
      includePaths:
        - 'http://host.docker.internal:3000.*'
  parameters:
    failOnError: true
    failOnWarning: true
    progressToStdout: true
jobs:
  - type: spiderAjax
    parameters:
      clickElemsOnce: false
  - type: script
    parameters:
      action: 'add'
      type: 'standalone'
      engine: 'ECMAScript : Graal.js'
      name: 'inline-test'
      inline: |
        function listChildren(node, level) {
            var j;
            for (j = 0; j < node.getChildCount(); j++) {
                print(Array(level + 1).join("    ") + node.getChildAt(j).getNodeName());
                listChildren(node.getChildAt(j), level + 1);
            }
        }

        root = model.getSession().getSiteTree().getRoot();

        listChildren(root, 0);
  - type: script
    parameters:
      action: 'run'
      type: 'standalone'
      name: 'inline-test'
  - type: report
Script가 실행되고 나면 아래처럼 콘솔에 출력되는 것을 확인할 수 있다. 그런데 Ajax Spider를 사용하면 React Router에 의해서 이동하는 페이지들이 다 잡힐거라 기대했다. 하지만 /about, /posts, /login 경로들이 보이지 않았다.
http://host.docker.internal:3000
    GET:/
    GET:favicon.ico
    GET:logo192.png
    static
        js
            GET:bundle.js
    GET:ws
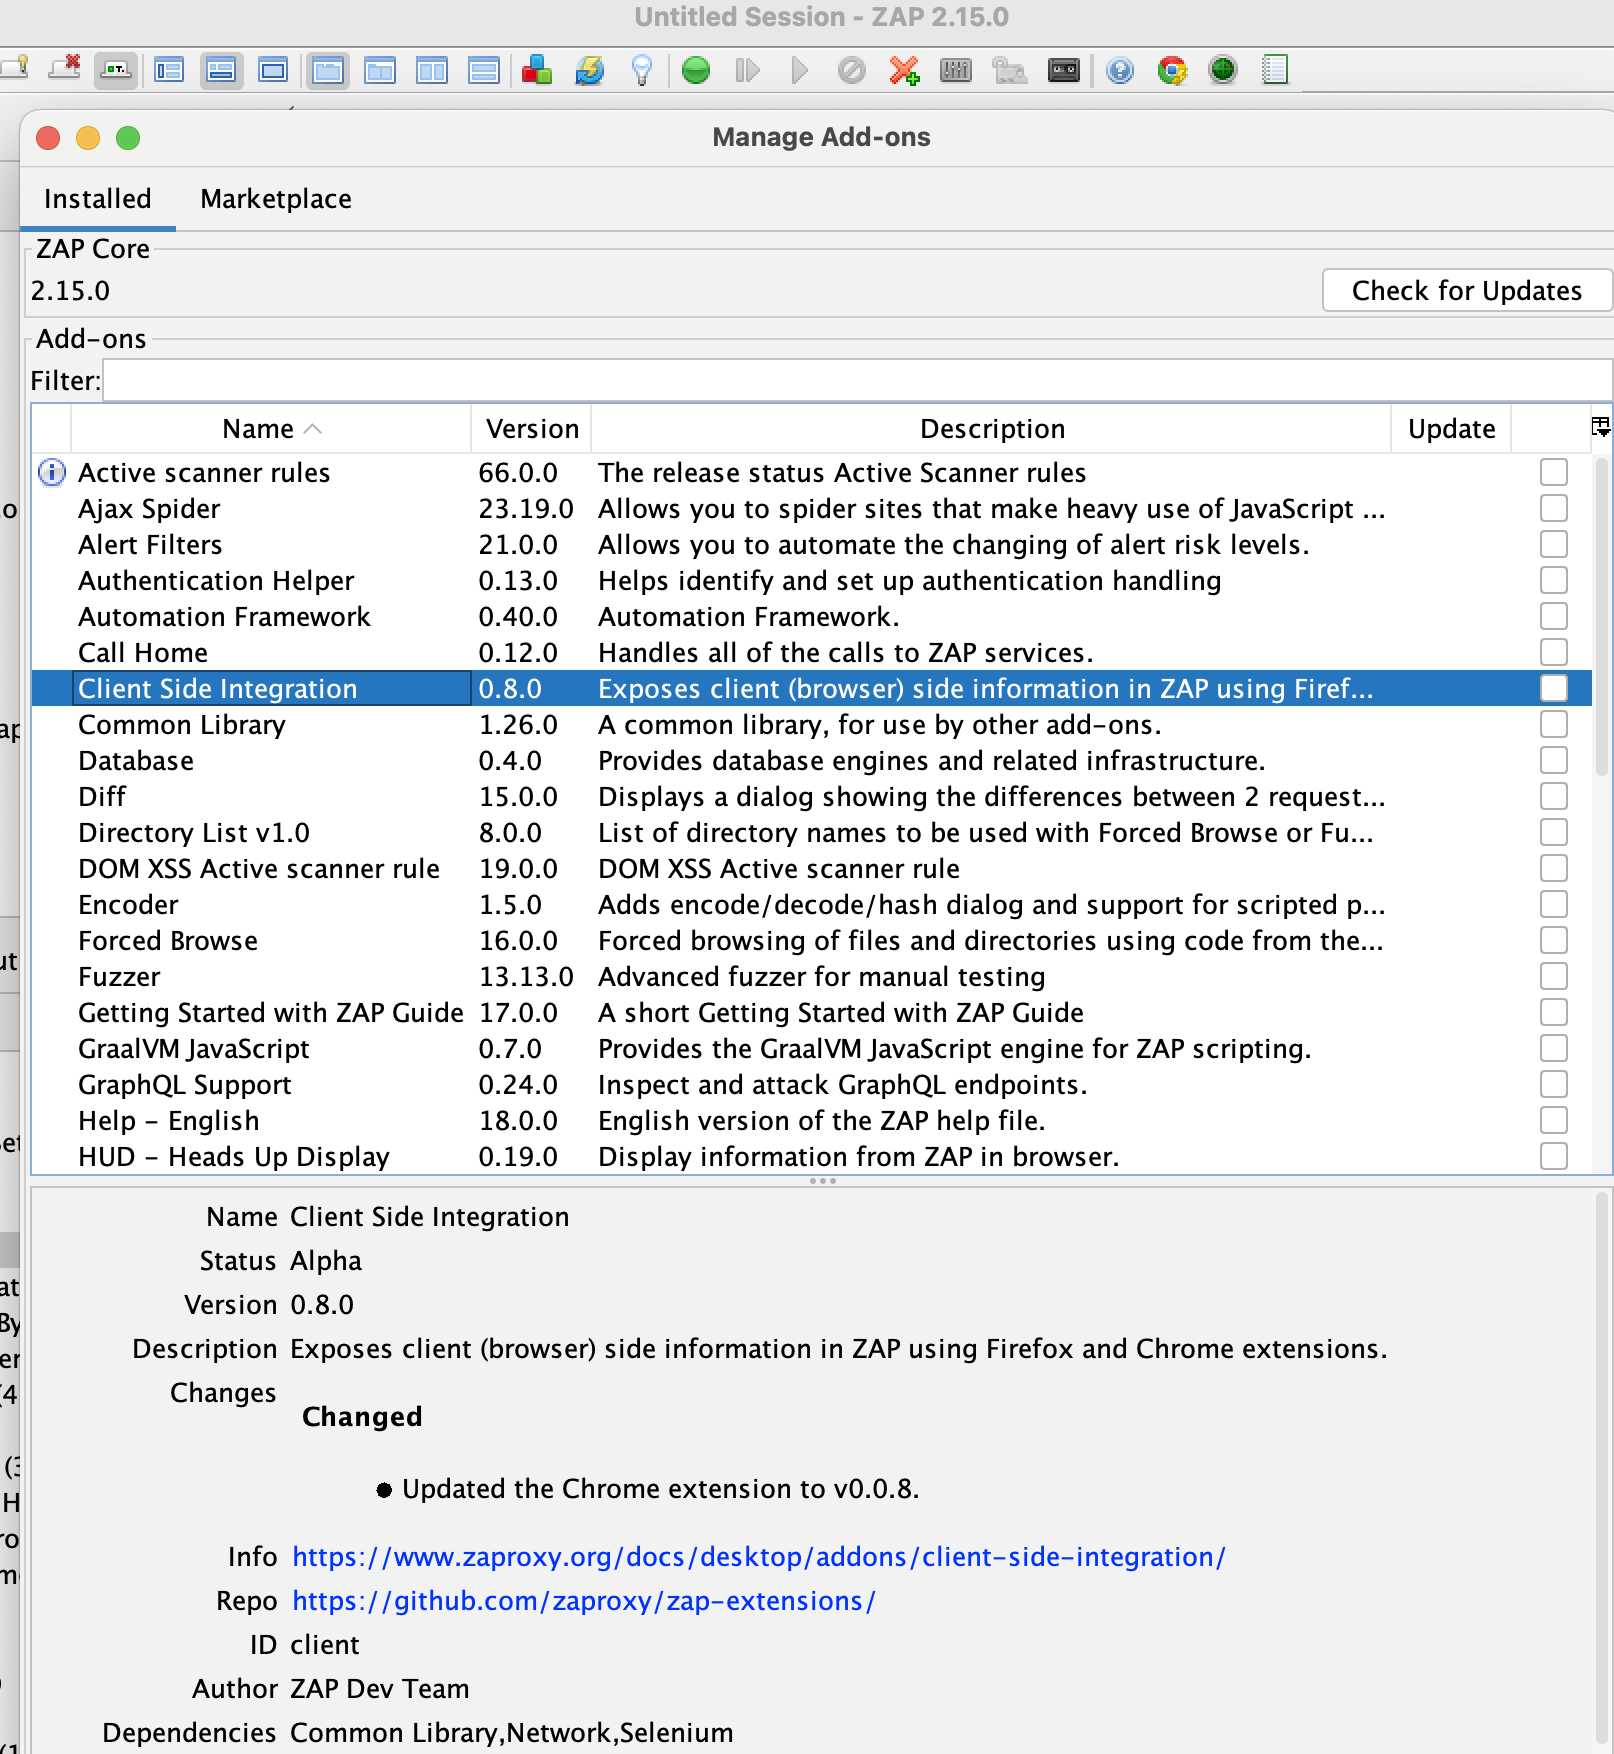
Spider가 찾은 URL에서는 Front-side에서 이동되는 페이지는 포함되지 않는다. Ajax Spider가 Javascript에 의해서 만들어진 페이지를 crawl한 Path는 Zap Desktop Application에서 확인할 수 있다. Client Side Integration을 marketplace에서 추가하면 사용할 수 있다.
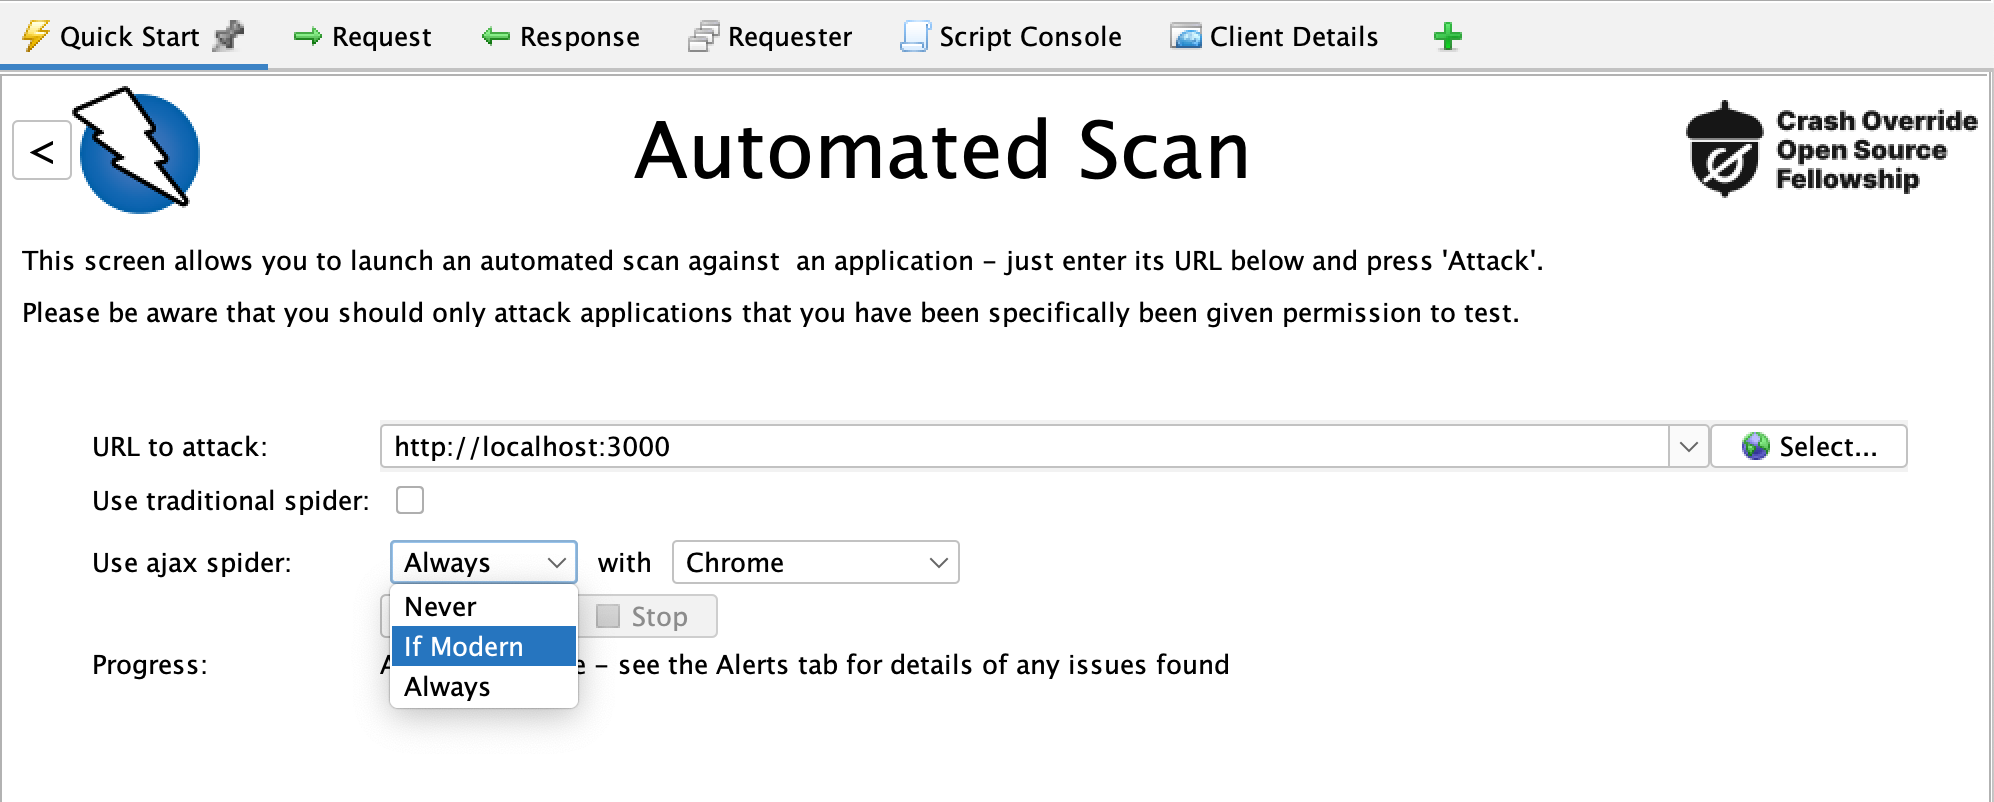
아래처럼 Desktop Application에서 Automated Scan을 할 수 있는데, use ajax siper 옵션으로 사용할 수 있다. If Modern 옵션으로 Javascript을 실행해서 페이지를 구성하는 Application의 경우에만 Ajax Spider를 사용하도록 할 수 있다. 그리고 Zap에서는 Spider, Ajax Spider가 얼마나 잘 크롤링을 하는지 테스트한 결과를 공유하면서, Spider와 Ajax Spider를 함께 사용하는 것을 추천한다.
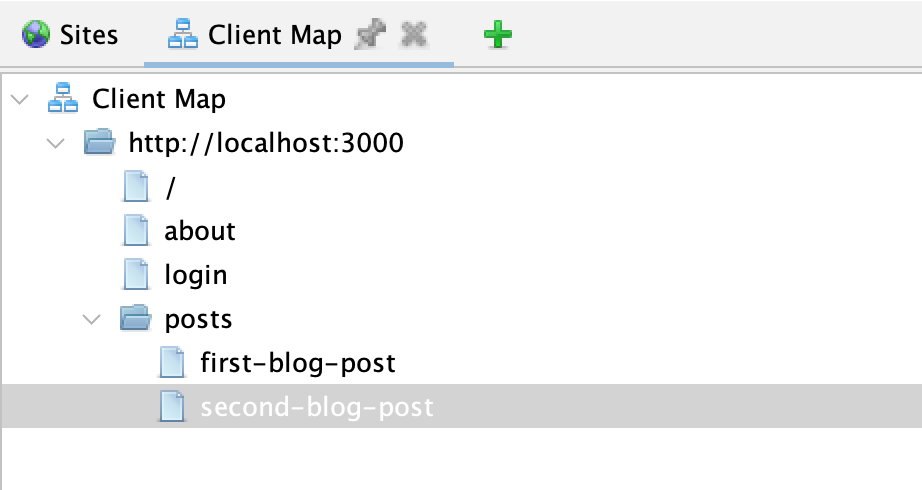
이렇게 Ajax Spider로 크롤링을 하면, 아래처럼 Client Map 메뉴에서 찾은 경로를 확인할 수 있다. 예상 한대로 /about, /posts, /login 경로들이 보이는 것을 확인할 수 있다. 그리고 Depth가 기본으로 10으로 설정되어 있어서 /posts 페이지에서 각 post로 넘어가는 하위 경로들도 같이 잡혀 있는 것을 확인할 수 있다. 실제로 ZAP Desktop application으로 스캐닝을 할 때 headlesss가 아니라 Chrome, Firefox를 설정하면, 브라우저가 떠서 각 페이지들을 찾아가는 것을 확인할 수 있다.
Local Storage에 로그인 관련 값을 저장하고 싶을 때
React App에서 Oauth2로 정상적으로 로그인을 하면 해당 credentials을 Local Storage에 저장하여 사용하는 경우가 있다. 스캐닝을 할 때 Authentication을 해야 되는데, Selenium script로 Local Storage에 유효한 credentials을 주입하여 로그인을 우회해볼 수 있겠다. 친절하게 해당 상황에서 사용할 수 있는 스크립트가 공유되어 있다. 해당 스크립트를 참고하여 아래와 같이 작성했다.
- parameters:
    action: 'add'
    type: 'selenium'
    engine: 'ECMAScript : Graal.js'
    name: 'setLocalStroage'
    target: ''
    inline: |
      var ScriptVars = Java.type("org.zaproxy.zap.extension.script.ScriptVars");

      function browserLaunched(ssutils) {
          var token = '{"AccessToken":"something","RefreshToken":"else"}';
          logger("browserLaunched " + ssutils.getBrowserId());
          var wd = ssutils.getWebDriver();
          var url = ssutils.waitForURL(5000);
          logger("url: " + url + " setting token " + token);
          var script = "window.localStorage.setItem('tokenState', '" +
              token +
              "');";
          wd.executeScript(script);
          wd.get(url);
      }

      function logger() {
          print("[" + this["zap.script.name"] + "] " + arguments[0]);
      }
  name: 'script'
  type: 'script'
그리고 ZAP Desktop Application에서 아래와 같이 Automation Framework을 탭에서 Job들을 추가할 수 있다. ZAP maintainer분은 이렇게 Desktop Application에서 먼저 설정을 테스트해보고 그다음에 export해서 사용하는 것을 추천한다.
